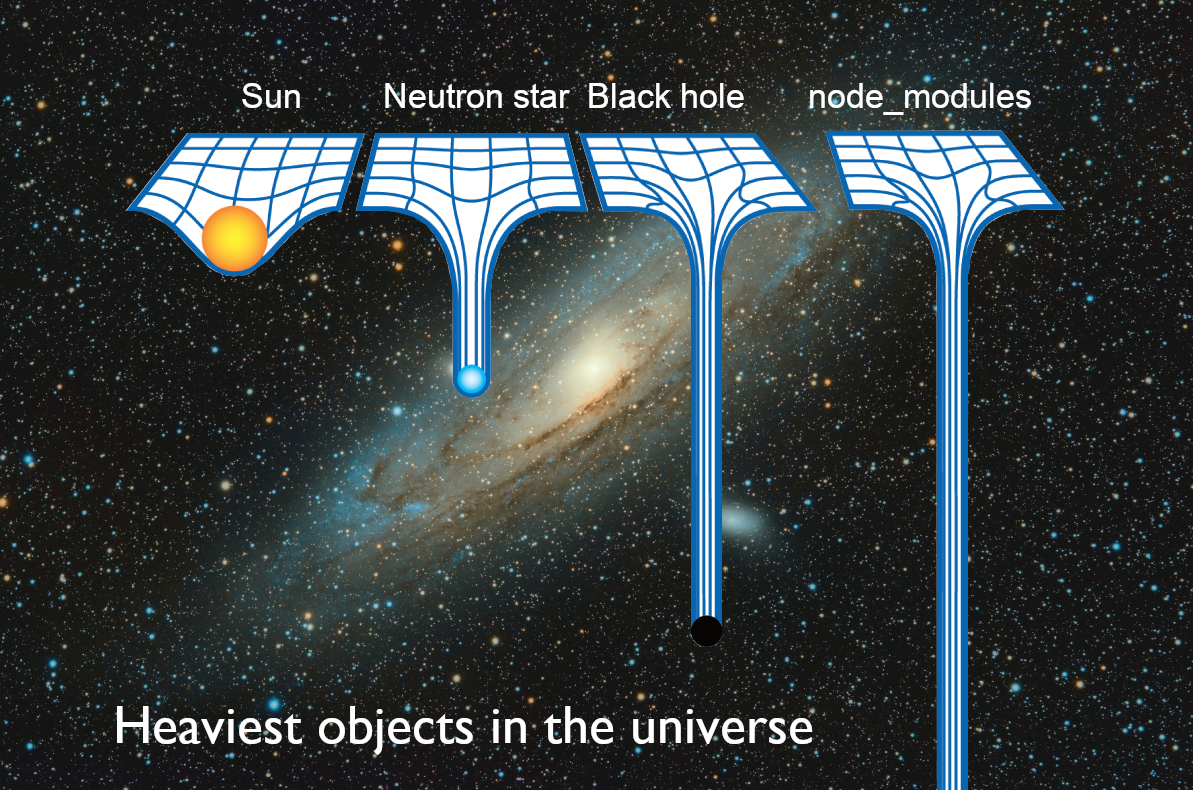
Everyone who's ever worked with npm modules knows how heavy node_modules dirs can get - in some projects I've had them close to a gig! And as long as you're actively working on a project, that's alright. But often times, when the work is finished or paused until no-one-knows-when, the node_modules dirs are just left sitting there without purpose, and slowly but surely eating up your disk space.
Chances are, you won't be needing some of those fat-bottomed node_modules anytime soon. And even if you do, you could always reinstall them in a matter of seconds! So why keep them around and waste the valuable disk space?
In this post, I'm going to walk you through a basic configuration of the cli tool called ✨nm-cleanup✨, which I authored to solve exactly this problem. As you will shortly see, it's a highly customizable and automatable utility, that can help you maintain your workspace clean.
I will also show you how we can set it up to run on a regular basis, without requiring any user input - just set it up once and rest assured your disk isn't cluttered with useless folders!
And what about other tools aimed at this same problem?
While it's true that there are other tools meant to solve this very same problem, their behavior is different. They either:
- wipe all
node_modulesthey find without checking the mtime, - or give you a UI, where they list all the
node_modulesfolders and let you manually select the projects you want to get rid of.
And that makes them really hard (if not impossible) to automate. Which is fully supported by nm-cleanup, as you will see in a second.
Install the cli
First things first, we need to install the cli.
I think I can skip all the "make sure Node is installed", as we're trying to solve the node_modules problem, so you've likely used npm before ;)
npm install -g nm-cleanupMake sure to install it globally to make the cli accessible from anywhere on your machine.
Then nm-cleanup cli (or simply nmc) should be executable from the terminal. To test that, you can run:
nmc -VHow it works?
The main goal with this utility was to support automation. And even when ran in interactive mode, keep the count of required actions to a minimum.
So when the tool runs, it finds all "targets" (by default node_modules, but can be customized) in all project dirs recursively. And while it scans the filesystem, it also measures when each project was last modified based on the contained files. And if the modification time is older that the specified threshold (by default 30 days), the target is marked for deletion.
So, if you have a following fs structure...
~/projects/
├── old-project/
│   ├── package.json
│   └── node_modules
└── fresh-project/
    ├── package.json
    └── node_modules
...and you run...
nmc ~/projects -y...only the old-project/node_modules will get cleaned up, and the fresh-project/node_modules will be left as is.
nmcis an alias fornm-cleanup
-yor--yesflag is used to run in the auto-confirm mode (we'll get to that in a second)
Running manually
In the real-world scenario, you would probably want to run the tool a couple of times in an interactive mode first, to see what targets it finds, and to customize your configuration if necessary.
For that, run the tool without the -y flag. That way it'll display a confirmation prompt before taking any action.
Or run it with the --dry-run flag - that way it'll only scan the system and print the targets without proceeding to the cleanup step at all.
Configuration
Here are a couple of the most useful options you might want to tweak:
-t, --time
Sets the threshold for how old a project should be (based on last modification time) before its directories are targeted for cleanup. Use this option when you want to clean up projects that haven’t been modified for a specific period.
The threshold is set to 30 days by default.
-i, --ignore
nm-cleanup will never clean up the projects that were modified less than (whatever you specified) days ago. But if you have some projects you don't want to clean up regardless of modification time, you can use this option.
By default, nothing is ignored.
-n, --name
Specifies a regex pattern to match directory names that should be removed. Use this option when you want to clean up other types of folders besides node_modules, for example, dist.
By default (as you might have guessed) the name is node_modules.
These are not all of the options! As mentioned earlier, the tool is really customizable - but, in order to keep the things simple in this post, I'm not going to list all of the available configurations here. If you want to see what more there is to adjust, you're always welcome to check out the full list of options in the tool's readme (or with the -h flag).
Moreover, if you feel there's a use case for this tool that is not covered by currently available options, feel free to open an issue with feature request!
Now that we have familiarized ourselves with the config, here's what your command might look like:
nmc ~/projects -t 14 -n 'node_modules|dist' -i 'my-special-project'Or just run it from your projects directory, without arguments if you're happy with the default values. This works too:
nmcAutomation
After you've ran the command 1-2 times, and you're happy with how it responds to your config, the natural next step is to automate it to run, for example, once a day.
That way, you can always be sure that the space on your system is not being occupied by useless folders in projects older than N days.
If you've run any of the previous commands, you've noticed that the tool doesn't rely on user input during runtime. All the configuration is provided with options, and, after the targets are listed, the only action required from user is to answer the "are you sure?" dialog.
Thanks to that design, we can rather straightforwardly skip the confirmation step and proceed directly to the cleanup right after we've locked on our targets.
To skip the confirmation, simply add the -y (--yes) flag:
nmc ~/projects -ySetting up a cron job
And now that we understand how to run the cli in non-interactive mode, we can proceed to the final step - setting up a cron job to repeat our command, for example, every day at noon.
I'm going to describe how to set this up with
cronas it's pretty much the default solution for creating scheduled jobs, and comes pre-installed on Mac and Linux. But if you're on a different system, feel free to use your job scheduler of choice. The general principle should remain the same.
Open crontab
crontab -e
This will open the crontab file, where we can add our new job. By default the file opens in vim editor.
First time using vim?
No worries. I'm not going to over-complicate this post with detailed instructions on how to use vim - but here are the shortcuts that should get you through this time:
G (shift + g)go to the last lineA (shift + a)activate insert mode at the end of this line- go to the newline and type the command as usual (the command we want to add here is described below)
<ESC>go back to normal mode:activate command mode (you should see the cursor jump to the lowest part of the editor window)wq<ENTER>(you should see it typed in the lowest part of the editor window) write and quit
I recommend you to further familiarize yourself with vim, as (a) it's awesome, and (b) knowing at least the basics will come handy in various situations.
Add a new cron job
Crontab file lists all of your cron jobs. Let's add a new line with our command:
0 12 * * * nmc ~/projects/ -yDon't forget to replace the ~/projects/ part with your projects directory (the folder containing all the project folders) - this is the entry point from where the recursive scan will start.
Also, feel free to customize the options of the command as needed for your use-case, but make sure to keep the -y flag to run in non-interactive (auto-confirm) mode.
If you're not familiar with the cron format...
...here's the breakdown of what that line says:
0on the 0 minute12of the 12 hour*every day of the month*every month of the year*every day of the weeknmc ~/projects/ -yrun the cleanup cli from~/projects/directory in non-interactive (-y) mode
Save and exit. Then you can confirm the job is set with:
crontab -lThis should show the cron job you've just added.
If you followed the instructions in this section, cron will automatically run the cleanup command every day at noon, keeping your projects directory free of any obsolete node_modules!
Cron job troubleshooting
Because cron runs in a very minimal environment, its default PATH is often much shorter than what you might have in your terminal. This can lead to commands (like nmc, node or any other executable) not being found.
If you've set up the cron job, but it doesn't seem to have any effect, you'll have to do some additional debugging. But don't worry, here are a couple of recipes that can help you sort this out:
Redirect command output to a log file
This will let you see what output the command generates and if there are any errors. Feel free to use any file name and location that suits you.
0 12 * * * nmc ~/projects/ -y >> ~/desktop/nmc_cron.log 2>&1Schedule the command to execute more often
For example we can adjust the job's schedule to run every fifth minute (5, 10, 15 etc) of every hour. So that we don't have to wait an entire day to see the debugging progress. Feel free to use any other time interval.
*/5 * * * * nmc ~/code/ -yUse full path to the command
As mentioned earlier, it's possible that nm-cleanup executable is not loaded in your cron environment. Work around that by providing full path to the nmc executable. In the terminal type:
which nmcThis should output /full/path/to/nmc. Copy that, and use it in the crontab in place of nmc command:
0 12 * * * /full/path/to/nmc ~/code/ -yLoad NVM environment
If you're using NVM, it's possible that node itself is not available to the cron environment. To fix that we can manually load NVM in our cron job before executing the command.
0 12 * * * source $HOME/.nvm/nvm.sh && nmc ~/code/ -y
$HOME/.nvm/nvm.shis the default nvm location, to make sure nvm is indeed installed there, you can runls -l $HOME/.nvm/nvm.sh
Conclusion
Awesome! Today we've learned to use nm-cleanup (paired with cron) to keep our workspace clean, and free'd up some of the disk space taken up by unused node_modules directories.
Feel free to scout the tool's readme for more customization options, if you want to take it some steps further.
Keep it clean everybody, and happy coding!